|
Pen Boxes
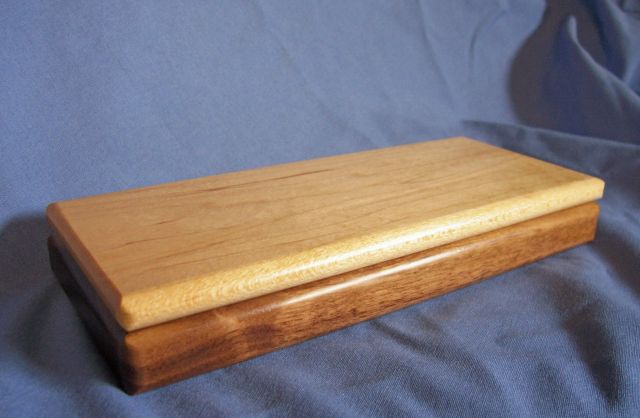
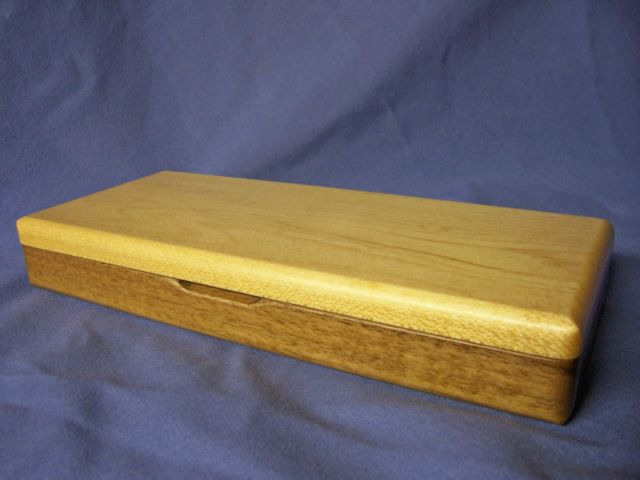
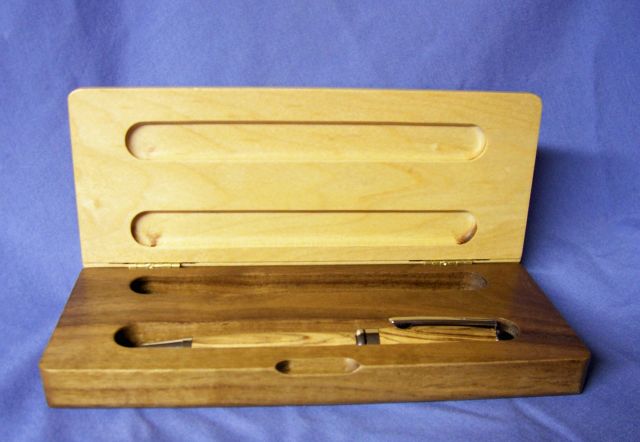
Decided to make some pens and pen boxes for executive Christmas gifts. Here are some photos of the boxes and a few of the
process of making them.
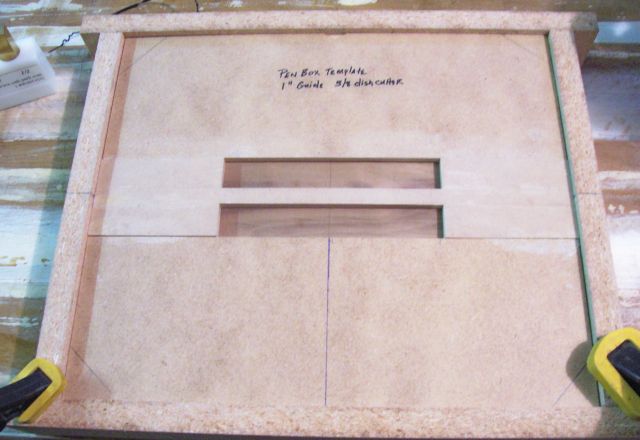
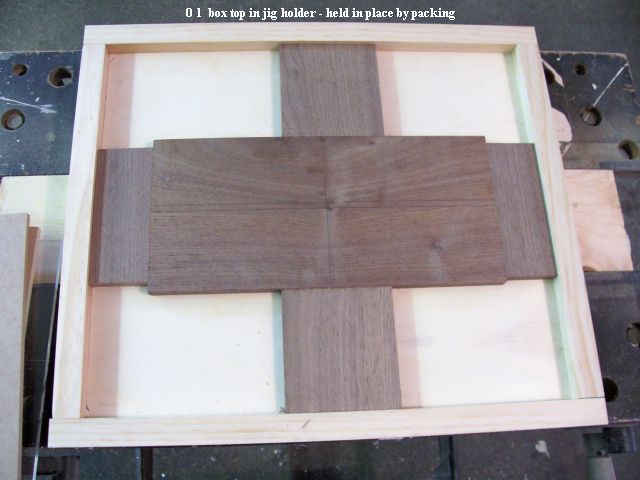
Template holder for holding the box part for plunge routing.
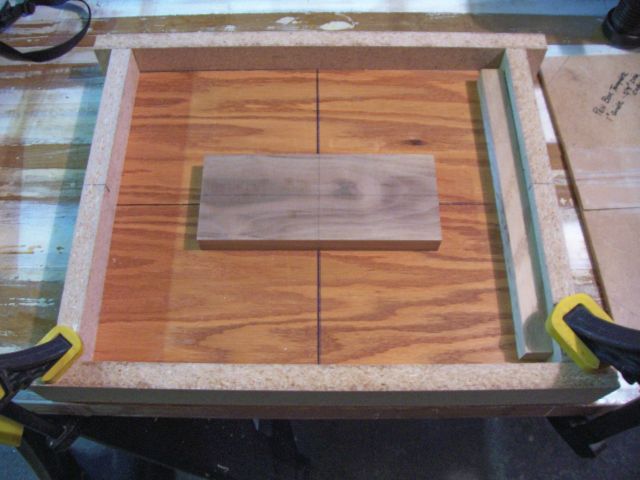
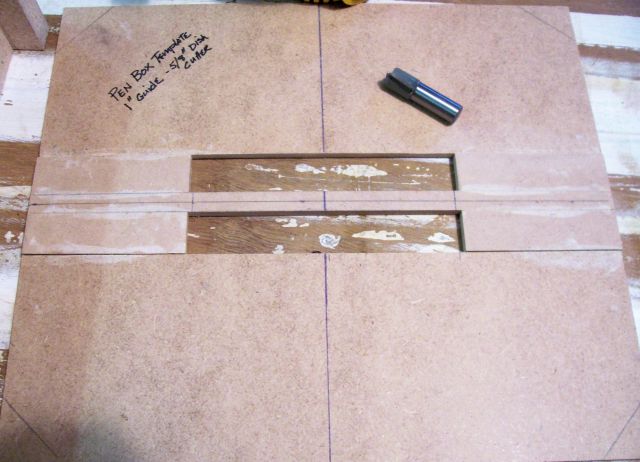
Photo of the template.
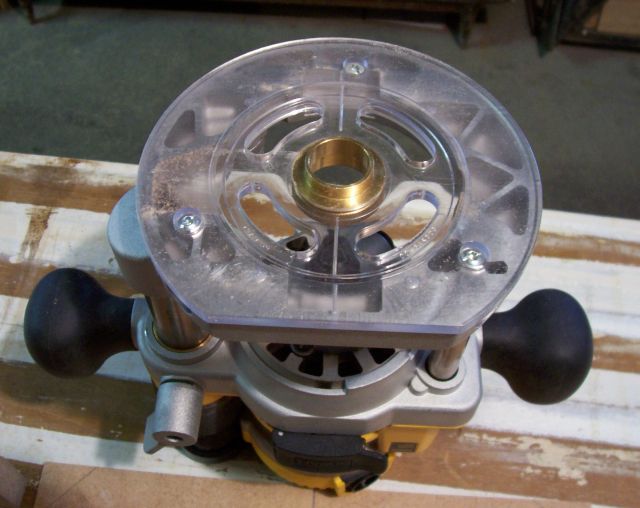
1 inch guide bushing used with 5/8 inch dish cutter.
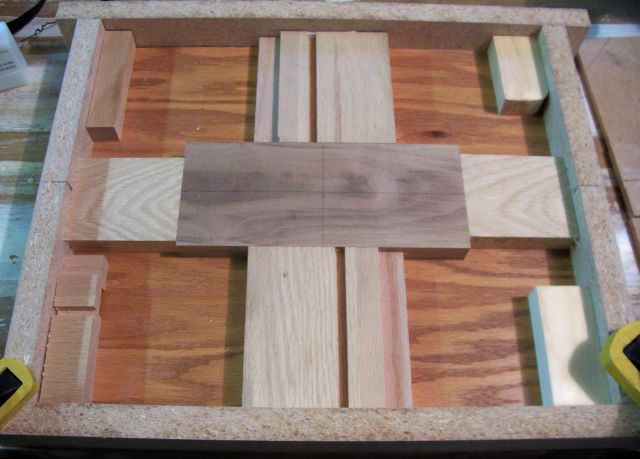
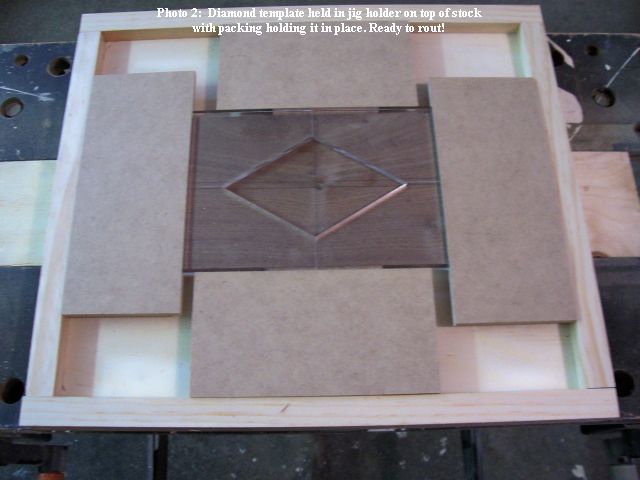
Blocking added to template holder to hold the stock. The Template will sit on top of that.
Template in place ready to route.
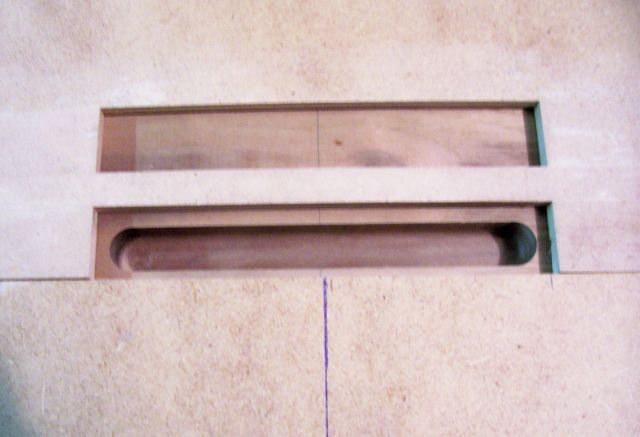
One groove routed in pen box.
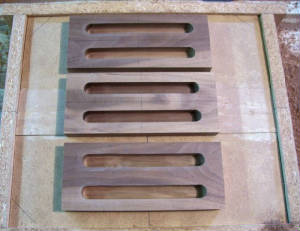
Finished bottoms of the cases.
Finished top and bottom
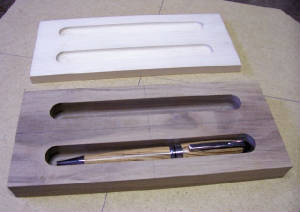
Finished Pen boxes. Walnut bottoms and maple tops. One with round overs all over and 2 with round overs on the top and bottom.
Finished with poly and rubbed out.
Router Carvings and Inlays
I recently became interested in using the router to do carvings and inlays on boxes using the router. A key to this is a fixture
called a template holder. The template holder can hold a work piece to be routed with blocking and packing which holds the
work piece firm while routing. The template sits on top and the hand held plunge router is used to to complete the work.
This method has been used by Template Tom of Australia who specializes in plunge routing with templates, guides and router
skis and Bob and Rick of the Router Workshops who sell their own jig. See the link below for more info on this. The system
works great.
I made mine without the cams that hold the work piece, mainly to keep it simpler. I also built mine to specifically fit
the Spirocrafter from Milescraft. This is a great jig.
Below are some photos of the jig and some box lids that I produced with it.
The Router Workshop
Introduction To Template Guides
Making An Inlay
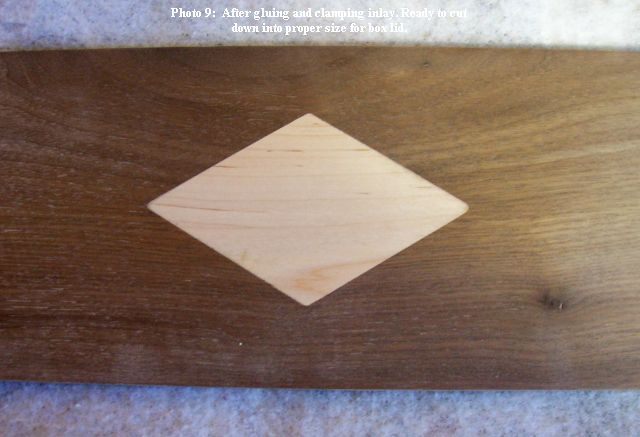
What follows is a step by step of making a box lid with an inlay. The work piece was held in the jig holder and then the template
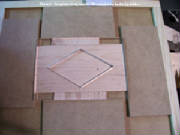
was added and trapped on top. First the inlay cavity is created and then the inlay itself is created.
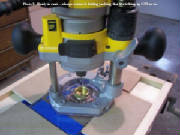
Routing out the inlay itself.
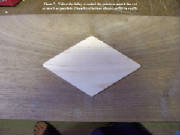
The inlay inserted into the cavity, soon to be a box lid.
|


